Introduction
Knitting is a rewarding and relaxing craft, but it can be frustrating to spend hours on a project only to have it unravel at the end. That’s why mastering the art of binding off is essential for knitters of all skill levels. In this article, we’ll explore six easy methods for binding off knitting, as well as techniques tailored to different projects and creative variations to add that extra flair to your finished work. We’ll also cover tips and tricks for flawless results and troubleshooting solutions to common binding off problems.
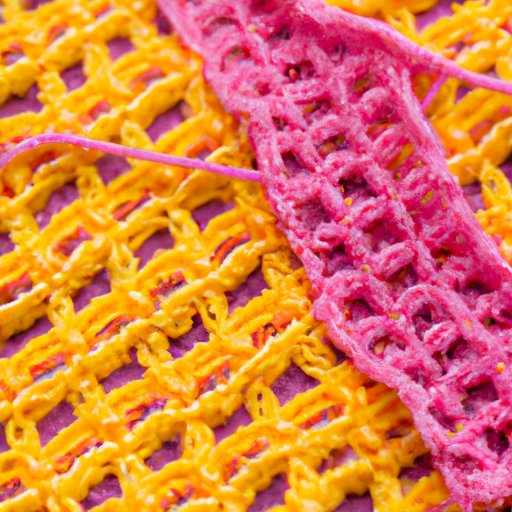
6 Easy Methods to Bind Off Knitting
Binding off is the process of creating a secure, finished edge on your knitting project. Here are six popular methods for binding off:
Basic Bind Off
The basic bind off, also known as the knit bind off, is the most common and simple method. To do this, begin by knitting two stitches, then insert the left needle tip into the first stitch on the right needle and lift it over the second stitch and off the needle. Repeat this process for the remaining stitches, pulling the yarn snugly through the last stitch to create a neat edge.
Picot Bind Off
The picot bind off creates a decorative edge with small loops. To achieve this, work the basic bind off, then cast on two stitches using the backwards loop method. Bind off one stitch, then repeat the cast on and bind off until all the stitches have been bound off, except for the final two. Bind off these last two stitches together.
Stretchy Bind Off
The stretchy bind off is ideal for projects that require elasticity, such as socks or hats. It’s similar to the basic bind off, but involves knitting through the back loop to create a looser edge. To do this, knit the first two stitches through the back loop, then insert the left needle into the first stitch on the right needle, lift it over the second stitch and off the needle. Repeat this process, knitting through the back loop of every stitch.
Sewn Bind Off
The sewn bind off results in a flexible, invisible edge that’s perfect for sweater arms or any place where you want to avoid a stiff or bulky edge. To do this, cut the yarn leaving a long tail, then thread it through a tapestry needle. Insert the needle through the first two stitches purlwise, then back through the first stitch knitwise and off the needle. Repeat this process until all stitches have been bound off.
I-Cord Bind Off
The I-cord bind off creates a sturdy and decorative edge, perfect for blankets or scarves. To do this, cast on three stitches, then work an I-cord for several rows. Slip the first two stitches knitwise, knit the next two stitches together, then pass the slipped stitches over the knit stitches. Repeat this process until all stitches have been bound off.
Russian Bind Off
The Russian bind off creates a neat, decorative edge with a subtle twist. To do this, knit two stitches, then insert the left needle tip into the front of those stitches and knit them together. Knit the next stitch, then repeat the process by knitting the second and third stitches together. Continue in this manner until all stitches have been bound off.
How to Bind Off Knitting for Different Projects
While the basic bind off works for most projects, specific binding off techniques work best for different types of knitted items:
Scarves
The tubular bind off is ideal for scarf edges, as it creates a softer and more flexible edge. To achieve this, start with a provisional cast on and work a few rows in a knitting or purling pattern. Then, slip stitches from the back needle to the front needle and knit one stitch from each needle together. Repeat this process until all stitches have been worked.
Sweaters
The sewn bind off works well for sweater arms and necklines, as it creates a subtle and comfortable edge. Be sure to use a finer and stretchy yarn than the sweater body to avoid puckering or distortions, and take your time to make sure the tension is even.
Socks
The stretchy or tubular bind off is the best method for socks, as it creates a flexible finish that won’t bind or stretch out. Be sure to use a stretchy enough yarn for comfortable wear and try a few different bind off options to see which one works best for the specific sock pattern you’re using.
Master the Art of Binding Off: Tips and Tricks for Flawless Results
Here are some tips to help you achieve a neat and tidy bind off every time:
Avoiding common mistakes
One common mistake is binding off too tightly, which can result in puckered or distorted edges. To prevent this, use a larger needle size or knit the stitches loosely. Another common mistake is dropping stitches, which can be prevented by counting carefully and using stitch markers.
Achieving proper tension
To achieve proper tension, make sure to keep the edges loose while knitting. It’s also important to keep the tension consistent throughout the entire project, as differences in tension can result in visible holes or looseness in the finished work.
Examples of well-executed binding off
The best way to learn how to bind off properly is to see examples of well-executed binding off. Look at patterns or videos of finished projects and pay attention to the edges to get a better sense of what a well-done bind off looks like.
Binding Off Knitting in a Cinch: Quick Methods for Fast Projects
When you’re short on time but need to get something finished, here are a few quick and easy binding off options:
Crocheted Bind Off
If you know how to crochet, a crocheted bind off is a quick and easy way to finish a knitted project. Simply chain one, skip a stitch, then single crochet in the next stitch. Repeat this process until all stitches have been bound off.
Three Needle Bind Off
The three needle bind off is a fast and sturdy alternative to sewing two pieces together. To do this, hold the two pieces with right sides facing each other, then knit one stitch from each needle together. Slip those stitches back onto the needles, then bind off as normal.
Creative Binding Off Techniques to Add That Extra Flair
If you want to add a decorative flourish to your finished project, try one of these creative binding off methods:
Picot Edging
The picot edging creates small loops along the edge of a project, adding a pretty and feminine touch. To achieve this, cast on a few extra stitches, then work a row in a knitting or purling pattern before binding off with the picot bind off method.
Scalloped Edge
The scalloped edge creates a fanciful and delicate effect, perfect for baby blankets or shawls. To achieve this, work a few rows in a lace pattern, then bind off in pattern by knitting two stitches together and repeating until all stitches have been bound off.
Troubleshooting Binding Off Woes
Even the most meticulous knitters can make mistakes while binding off. Here are a few common problems and solutions:
Loose or Tight Edges
If your edges are too loose or too tight, try using a smaller or larger needle size to achieve a better tension. Alternately, try binding off with a stretchier method or experiment with different techniques to see which works best for the project.
Dropped Stitches
If you’ve dropped stitches while binding off, don’t panic! Use a crochet hook or tapestry needle to pick up the dropped stitches, then rework them into the pattern until all stitches have been bound off.
Uneven Tension
If your tension is uneven, try adjusting the tension as you go and experimenting with different methods. Remember to keep a consistent tension throughout the project to avoid unwanted gaps or distortions.
Conclusion
Now that you’ve mastered the art of binding off, there’s no limit to what you can create with knitting! Experiment with different techniques, try out creative variations, and don’t be afraid to make mistakes along the way. With these tips, tricks, and troubleshooting solutions, you’ll be binding off like a pro in no time.


