Introduction
Drawing on a cake may seem like a daunting task, but with the right tools and techniques, anyone can create a masterpiece. In this article, we’ll cover five topics to help you learn how to draw on a cake, including simple steps, tips and tricks, step-by-step instructions, tools and techniques, and a beginner’s guide.
Getting Creative in the Kitchen: 5 Simple Steps to Drawing on a Cake
Drawing on a cake doesn’t have to be complicated. In fact, with just five simple steps, you can create a beautiful design. First, select a design or pattern that you’d like to recreate on your cake. Then, practice on paper first to get a feel for the design. Next, trace your design onto your cake using a toothpick. Fourth, pipe frosting or icing over the design using a steady hand. Finally, add any final details or decorations to complete the design. Some easy design ideas include polka dots, stripes, or chevron patterns.
The Art of Cake Decorating: Tips and Tricks for Drawing on Your Next Confection
Planning out your design before you start drawing on the cake is key to avoiding mistakes. Use a toothpick to sketch out your design before piping on the icing. This will serve as a guide and help you avoid any errors. Additionally, using stencils or edible markers can help you create intricate designs with ease.
Making a Masterpiece: Step-by-Step Instructions for Drawing on a Cake
Looking for a more detailed approach? Here’s a step-by-step guide to drawing on a cake:
1. Start by selecting a design or pattern.
2. Practice your design on paper first.
3. Transfer your design to the cake using a toothpick.
4. Fill a piping bag with icing or frosting and add a small tip.
5. Pipe the icing over the design, using a steady hand and consistent pressure.
6. Add any final details or decorations.
If you’re having trouble with your design, try adjusting the thickness of your icing or frosting or using a different piping tip. And don’t worry if your design doesn’t come out exactly as planned. Mistakes can often lead to new, unexpected designs.
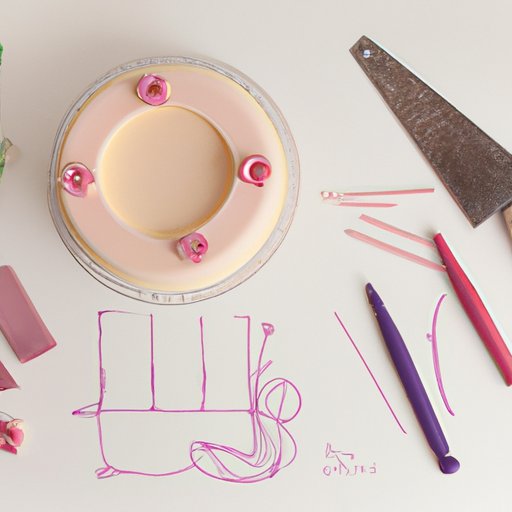
From Piping Bags to Pastry Brushes: Tools and Techniques for Drawing on a Cake
There are many tools you can use to draw on a cake, including piping bags, brushes, and spatulas. Each tool creates a different effect, so it’s important to choose the right one for your design. For example, if you’re creating dots, a small piping tip will work best. If you’re creating lines, a larger tip may be better suited. Similarly, shading can be achieved with a brush or a spatula. Experiment with different tools and techniques to find what works best for your design.
Decorating Your Desserts: A Beginner’s Guide to Drawing on Cakes
Drawing on a cake can be intimidating, especially for beginners. To make the process less daunting, start with simple designs and practice on cupcakes before moving onto larger cakes. There are also many resources available for further learning, including online tutorials and decorating classes.
Conclusion
Drawing on a cake may seem like a difficult task, but with practice and patience, anyone can create a beautiful design. Remember to plan out your design, use the right tools and techniques, and don’t be afraid to experiment.


