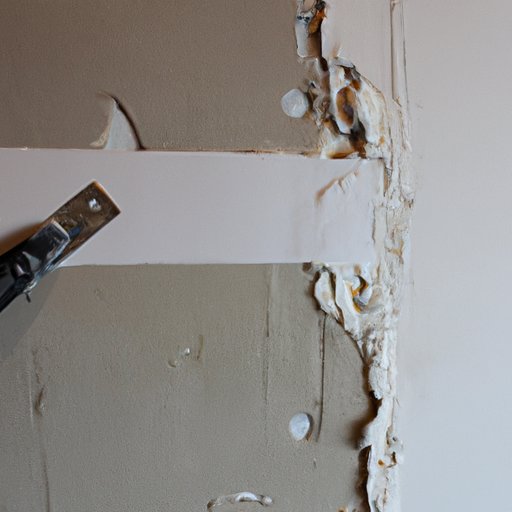
Introduction: Why Fixing Holes in Drywall is a Must-Know Skill
Whether from a wayward piece of furniture or a doorknob that hits too hard, holes in drywall are an unsightly nuisance. Not to mention, leaving them unfixed can potentially lead to bigger problems down the line, such as mold or leaking pipes. Rather than paying a professional to come out and fix the issue, this article will guide you through completing the task on your own.
Step-by-Step Guide: Fixing Holes in Drywall
Before beginning the process, gather these tools and materials:
- A drywall saw or utility knife
- Drywall tape
- Drywall compound
- A wide putty knife
- An oscillating tool (optional)
- Sandpaper, a sanding sponge, or a sanding block
- A damp cloth or sponge
To fix a hole in drywall, follow these steps:
- Cut away any loose drywall or jagged edges around the hole, forming a clean square or rectangular shape.
- If necessary, measure and cut a piece of drywall to fit the hole. (This step isn’t necessary if using spackling paste, instead of drywall compound, in Step 6.)
- If necessary, insert the cut piece of drywall into the hole and secure it with screws.
- Apply a strip of drywall tape over the hole, smoothing out any air pockets or bumps.
- Using a wide putty knife, apply a thin coat of drywall compound over the tape. Smooth out the surface, making it as level and flush with the surrounding wall as possible.
- Allow the drywall compound to dry completely. Then, sand the surface until it is smooth and even with the surrounding wall. Use a damp cloth or sponge to remove the sanding dust.
- Repeat the process in Step 5 and, if needed, Step 6 until the repaired wall is smooth and flush with the surrounding wall. You may need to wait for the compound to dry between coats.
- Finally, paint over the repaired area, making sure to blend the new paint seamlessly with the existing wall color.
For a visual guide, see the video tutorial below or check out images of the before and after in the section below.
Video Tutorial
For a more detailed visual guide, check out this video tutorial by This Old House. Be sure to enable subtitles for step-by-step instructions, and feel free to pause or rewind as needed.
Before and After Images
In order to properly showcase the difference before and after fixing the hole, take photos of the hole before starting any repairs. Once the repair is made, take another photo of the wall from the same angle to show off the seamless finish. These pictures can not only help you recognize the differences in the wall but can also act as proof of the hard work that went into the repair. For examples of the change-in-progress, view the video tutorial above.
Avoiding Common Mistakes
Some of the most common mistakes individuals make when fixing a hole in drywall include:
- Applying too much or too little drywall compound
- Not using enough tape or not smoothing out the tape enough before applying the compound
- Not allowing enough time for the compound to dry
- Sanding too much or too hard, causing an uneven finish
To avoid these mistakes, take your time and be patient with the process. Don’t rush through any step, as each one is crucial to achieving a seamless finish. For help visualizing these common mistakes, see the images and video tutorial above.
Using Household Items
If you’re in a pinch and don’t have any drywall tape, compound, or putty knife on hand, don’t fret! There are a few household items you can use to fix a hole in drywall.
- Spackle or toothpaste can be used in place of compound for smaller holes.
- A credit card can be used in place of a putty knife.
While these options may not provide quite as seamless a result as using specialized materials, they can certainly suffice in a pinch, or when a more polished appearance is not necessary.
Safety Measures
While fixing a hole in drywall may seem like a straightforward task, it’s still important to take safety measures throughout the process. Some safety tips to keep in mind include:
- Wearing safety goggles to protect your eyes from falling debris and dust.
- Wearing a dust mask to protect your lungs from inhaling drywall dust.
- Turning off electricity to the room in question, as some wires may run through the walls.
- If using a saw, using a sharp blade to minimize the amount of shards produced.
Feeling Confident
Knowing how to fix a hole in drywall is not only a practical skill, but it also provides a sense of accomplishment and self-sufficiency. Once you master this skill, there are countless other DIY home repairs you can accomplish on your own and potentially save yourself some money. Celebrate your newfound skills by throwing a housewarming party or simply by admiring the seamless finish on your newly repaired wall.
Conclusion
Fixing holes in drywall can seem intimidating at first, but with the right tools and materials, and by following these steps, it’s a task you can confidently accomplish on your own. Remember to take your time and be patient, and you’ll have a seamlessly repaired wall in no time.


