I. Introduction
Headbands are a popular accessory that can instantly transform any outfit. If you want to learn how to make your own unique headband, then you have come to the right place. In this article, we’ll be providing a step-by-step guide to making your own headband. This article is aimed at beginners, and we have included detailed instructions with photos to make the process easy to follow.
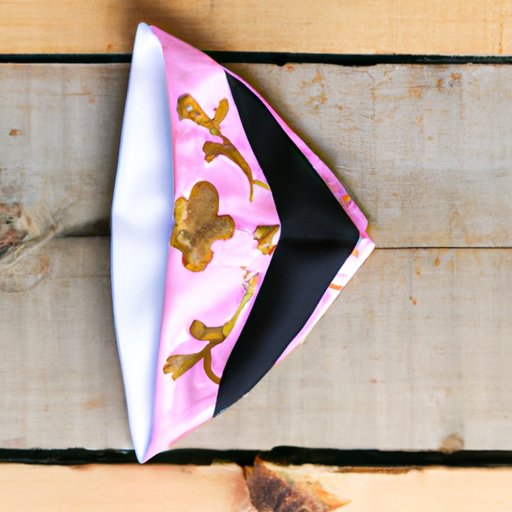
II. Step-by-Step Instructions with Photos
To make a headband, you will need a few basic tools and materials. First and foremost, you will need some fabric – this can be any fabric you like, as long as it is around 1m in length. You will also need an elastic band that fits snugly around your head, some thread, pins, and a sewing machine.
Step 1: Cut your fabric to a length of 1m and a width of 10cm. Fold the fabric in half lengthwise, with the right sides facing inwards.
Step 2: Pin the two long edges together to create a long tube. Sew the pinned edges together, leaving approximately 1cm seam allowance.
Step 3: Turn the tube the right way around, so that the right side of the fabric is now on the outside. Press the fabric with an iron to create a nice, neat finish.
Step 4: Thread your elastic band through the fabric tube. Pin the ends of the elastic band together and sew them securely.
Step 5: Fold the end of the fabric tube over the elastic band and pin it in place. Sew the folded end of the tube together, making sure that the stitches are secure and won’t come undone.
Step 6: You have now completed your headband! Try it on and enjoy your new accessory.
Make sure you pay attention to the photos, as they show you exactly what you should do at each step.
III. Materials Needed and Where to Find Them
To make a DIY headband, you will need fabric, elastic, pins, thread, and a sewing machine. You can find these items at any fabric store or online. Online stores such as Amazon and Etsy have a wide range of fabrics and elastic bands to choose from, so you’re sure to find the perfect materials for your DIY headband project.
IV. Video Tutorial
If you prefer to learn by watching someone else complete the task, then we recommend watching a video tutorial. Watching someone else create a headband can be helpful for visual learners. We recommend watching the video tutorial at least once before you begin sewing. This tutorial can be found on YouTube, and it is free to watch.
V. Creative Design Suggestions
If you want to make a unique headband, then you can get creative with your design. You can use all sorts of materials to make headbands, including fabric, ribbon, lace, beads, and faux flowers. You can also mix and match materials to create interesting textures and patterns.
For example, you could use fabric scraps from a previous project to make a patchwork headband. Or, you could add beads or rhinestones to your headbands for a fancy touch. The possibilities are endless!
VI. Tips and Tricks for Beginners
If you’re a beginner who has never made a headband before, then there are a few tips and tricks that can help you make a great headband. These tips are simple and practical, and they can make all the difference when it comes to creating a great-looking headband.
Firstly, always measure your head before you start sewing. This will ensure that your headband fits correctly. Secondly, use a sewing machine, as it will give you a much neater finish than if you were to sew by hand.
Lastly, take your time! Sewing can be a relaxing and enjoyable hobby, but it’s important to take your time and sew accurately to avoid any mistakes.
VII. Personalization Ideas
If you want to add a personal touch to your headband, then there are plenty of ways you can personalize it. One idea is to add a slogan or quote to your headband using fabric paint or iron-on transfers. You could also sew on some glitter letters or iron-on patches to create a unique look.
Another fun idea is to add a team logo or emblem to your headband. Whether you’re representing your favorite sports team or your school, adding a logo or emblem to your headband can be a fun and creative project.
VIII. Conclusion
Making your own headband is a fun and easy project that can transform any outfit. With this step-by-step guide, you’ll be able to sew your own headband in no time. Whether you’re a beginner or an experienced sewer, creating a DIY headband is a rewarding and enjoyable project. So, what are you waiting for? Get started on your DIY headband today.
If you want to learn more about sewing and crafting, then we recommend checking out some online resources. Websites like Pinterest and YouTube have plenty of tutorials and inspiration to help you get started.


