I. Introduction
Mouthguards are an important protective gear for athletes and anyone who participates in physical activities. They may look and feel bulky, but they play a significant role in protecting your teeth, gums, and jaw from potential injuries. In this article, we will provide you with a step-by-step guide on how to mold a mouthguard, ensuring a perfect fit that is comfortable, safe, and functional.
II. Step-by-Step Guide
To mold a mouthguard at home, you will need a few materials:
- A mouthguard kit (which includes the mouthguard, a storage case, and molding instructions)
- A pot for boiling water
- A timer
- A bowl of cold water
Follow these simple steps for molding a mouthguard:
- Fill the pot with enough water to cover the mouthguard and boil the water.
- Once the water reaches boiling point, turn off the heat and wait for a few seconds.
- Put the mouthguard into the hot water and leave it there for the specified time (check the instructions).
- Remove the mouthguard carefully, and make sure to shake off any excess water.
- Insert the mouthguard into your mouth and bite down firmly, making sure to keep your teeth aligned with the indentations in the mouthguard.
- Hold the mouthguard in place for a few seconds to create a perfect mold.
- Remove the mouthguard from your mouth and place it in the bowl of cold water. This will set the mold and ensure a tighter fit.
- Once the mouthguard is cool, check the fit carefully. If there are any loose areas or gaps, remold it by repeating the process (No more than twice).
- Congratulations, you now have a molded mouthguard that fits you perfectly!
Here are some tips that can help you achieve the perfect fit:
- Make sure you read the instructions that come with the mouthguard kit thoroughly before starting the molding process.
- Keep the mouthguard in your mouth for the recommended time, as specified in the instructions. Different types of mouthguards may have different times.
- Hold your jaw in a relaxed position when biting down on the mouthguard, as this will give the most accurate fit.
- If you find that the mouthguard is too small, then try heating it for a longer duration or remolding it completely.
- If you find that the mouthguard is too big, you can use scissors or a knife to trim it down to the correct size.
III. Video Tutorial
If you prefer watching a video tutorial, we have got you covered. Here is a comprehensive video tutorial that demonstrates the mouthguard molding process step-by-step:
https://www.youtube.com/watch?v=3ttCJvN4IT8
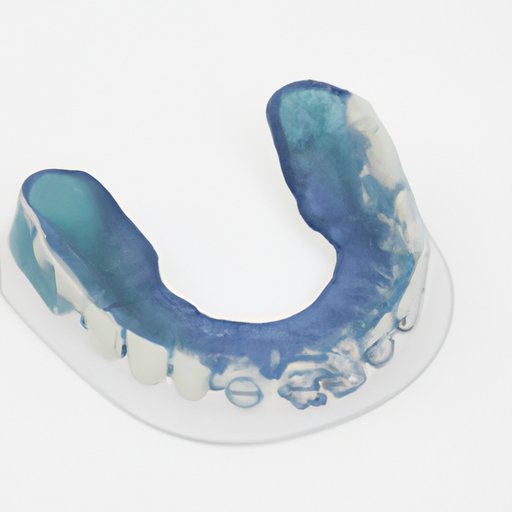
IV. Infographic
If you are a visual learner, check out our infographic on how to mold a mouthguard:
(Insert Infographic Here)
V. Comparative Study
Mouthguards come in different types and sizes, each with its own molding technique. Here is a brief overview of the different types of mouthguards and their corresponding molding techniques:
- Stock Mouthguards – These are pre-formed and ready to wear right out of the package. These can’t be molded to your teeth, but they are a convenient option.
- Boil-and-Bite Mouthguards – These are the most common type of mouthguard available in the market. They can be molded to fit your teeth after you have boiled them in water for a specified amount of time.
- Custom-Fitted Mouthguards – These are the most expensive type of mouthguard, but they are also the most comfortable and effective. They are custom-made by a dental professional to mold precisely to your mouth shape.
When choosing which type of mouthguard to use, consider what sport you are playing, how much contact is involved, and your budget. For most casual athletes, boil-and-bite mouthguards should be sufficient. However, if you play heavy contact sports (such as hockey or football), consider investing in a custom-fitted mouthguard that will provide maximum protection.
VI. Expert Tips
Here are some expert tips that can help you achieve the perfect fit for your mouthguard:
- Use a dental mirror when molding the mouthguard to make sure the alignment is correct and the back of the guard isn’t resting on your molars.
- Use hot water, but not boiling water. If the water is too hot, you run the risk of melting or warping the mouthguard.
- Submerge your mouthguard for the recommended time, not more or less.
- If your nasal passages are blocked or you have breathing difficulties, mold your mouthguard with your mouth slightly open to ensure proper airflow.
- Don’t bite too hard on the mouthguard, as it can lead to sore teeth and jaw muscles.
Common problems people face when molding their mouthguards include a poor fit due to over or under heating the material, or molds that are too deep or tight. If you do run into any issues, it’s best to remold the mouthguard, which may require reheating and starting the molding process from scratch.
VII. Post-Molding Care
To ensure your mouthguard lasts for a long time, and remains hygienic, clean it regularly after each use. Rinse it with cool water and brush it gently with a soft-bristled toothbrush. If you notice any signs of wear or tear, replace your mouthguard immediately.
When you’re not using your mouthguard, store it in its case – it’ll be easier to find and will remain germ-free.
VIII. Conclusion
Molding a mouthguard at home is a simple process as long as you follow the instructions carefully and use the right materials. Remember to choose the right type of mouthguard for your needs, practice good hygiene habits, and replace your mouthguard often. With the expert tips and tricks provided in this guide, you are now well-equipped to mold your very own mouthguard and enjoy the maximum level of protection out there.


