Introduction
Whether it be gift wrapping, tying hair accessories or for formal occasions, tying a perfect bow ribbon can be a daunting task for many. Ribbon bows are an essential accessory that adds beauty and charm to any appearance or gift wrapping. Learning how to tie a bow ribbon will set you apart and ensure your gifts or outfits look perfect. This article is designed to guide you through the process of tying a perfect bow ribbon.
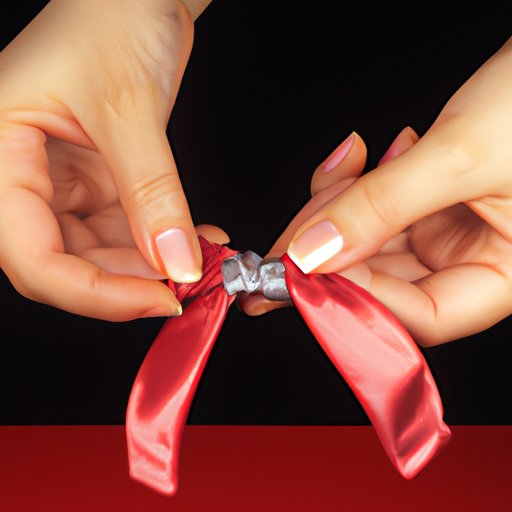
Start with The Basics
Begin by creating a loop with one end of the ribbon that is about half the size of the bow you wish to create. Hold the ribbon in the center of the loop with your thumb and forefinger. Create a similar loop but in the opposite direction using the other end of the ribbon. Place it on top of the first loop in the center. Cross the loop on top over the other and tuck it under and behind, then pull it through the gap made by the two loops and pull tightly. Adjust the loops to create a symmetrical bow.

Consider the Context
There are different types of bows that are used in different contexts. For example, a bow used for formal events differs from one used for gift wrapping. For gift wrapping, use a double-layered ribbon, while for formal events use a single-stranded ribbon. Consider the width and length of the ribbon to match the item or gift wrapping demands. For hair accessories, use narrow ribbons as they are easier to manage, and for large gifts, use wider ribbons.
Use Visuals
Visuals are a great way to learn as they provide clear and concise instruction. Videos, photographs, and animated gifs can help you follow along and create perfect bows quickly. Take an online class or watch tutorial videos on tying different types of ribbon bows. Use screenshots and save the steps for your future reference.
Offer Hacks and Tips
Here are some hacks and tips to make the task of tying a bow ribbon simpler:
- A great way to practice tying a ribbon bow is by using a shoestring.
- Spray starch the ribbon to give it a bit more stability.
- Twist the bow loops before you tie them to create a fuller appearance
- Use wire in the ribbon edge to help hold the shape of the bow
- Use a fork to create tiny bows for gifts or nail art.
Add Some Personality
Make the task of learning and tying bows more enjoyable by adding some personality to it. Anecdotes on how it has helped you or cultural references that help readers relate to the content are great ways to introduce personality. Also, adding humor and jokes can keep readers engaged in the article.
Conclusion
Now that you have learned how to tie a bow ribbon, take some time to practice and perfect your art. Remember to choose your ribbon carefully, consider the context, and utilize the hacks and tips provided to ensure you create a symmetrical and beautiful ribbon bow. With this guide, you’re sure to impress everyone with your new-found skills.


