Introduction
If you’re a coffee fanatic like most of us, owning a Keurig might be one of the best decisions you’ve made in your morning routine.
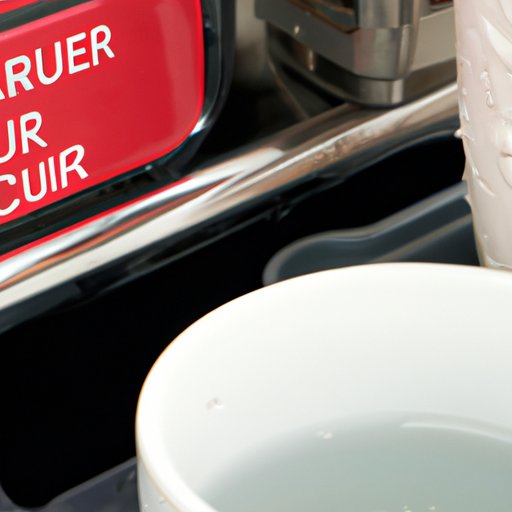
However, like any other kitchen appliance, Keurig machines require proper care and maintenance to work efficiently. Over time, coffee grinds and hard water build-up can clog your machine, causing it to malfunction or break down. So, it’s important to learn how to clean a Keurig properly.
In this article, we offer a comprehensive guide on how to clean a Keurig effectively and easily. We cover different formats, including a step-by-step guide, video tutorial, infographic, listicle, Q&A style and a comparison guide.
Step-by-Step Guide
Cleaning your Keurig regularly ensures that it runs effectively and provides you with high-quality, tasty coffee. Follow these five easy steps:
Step 1: Unplug and Disassemble
The first step is to unplug the machine and detach the brewer from the water reservoir. Also, remove the drip tray and K-cup holder.
Step 2: Clean External Parts
Use a damp cloth and dish soap to clean external parts like the lid, reservoir, and brewer. Scrub thoroughly to remove any coffee stains.
Step 3: Descale the Keurig Machine
Fill the water reservoir with 50% vinegar and 50% water, and run a brew cycle without a K-cup. Once it finishes, let it sit for 30 minutes before brewing again. Repeat until the reservoir is empty. This process helps to remove hard water build-up and bacteria.
Step 4: Clean the Removable Parts
Clean the drip tray, K-cup holder, and water reservoir by wiping them with a cloth and dish soap. Rinse thoroughly and let them dry before reassembling.
Step 5: Reassemble and Perform a Test Run
Reassemble the machine and fill the water reservoir with clean water. Run a few cycles without a K-cup to ensure that all traces of vinegar and water have been removed.
Video Tutorial
For visual learners, watching a video tutorial can be helpful. The video below demonstrates how to clean a Keurig step-by-step:
We suggest watching this video in addition to following our step-by-step guide, as it provides an extra level of clarity.
Infographic
An infographic offers a visually appealing format to learn how to clean a Keurig.
Here’s our designed infographic with a few quick cleaning tips:

This infographic provides a quick overview of the steps involved in cleaning a Keurig. It’s concise and easy to read. You can print it out and stick it to your fridge for quick reference!
Listicle
Here are some quick tips and tricks for cleaning your Keurig:
- Use filtered water to avoid build-up from hard water.
- Descaling your Keurig should be done every three to six months.
- Clean the removable drip tray and K-cup holder after every use.
- Always unplug the machine before cleaning.
- Use vinegar or Keurig descaling solution for the best results.
These tips will help you keep your Keurig machine clean and working efficiently.
Q&A Style
Here are some commonly asked questions about cleaning a Keurig:
Q: How often should I clean my Keurig machine?
As a general rule, it should be cleaned every three to six months. However, if you live in an area with hard water, you may need to clean it more often.
Q: Can I use bleach to clean my Keurig machine?
No, we do not recommend using bleach as it can damage the machine and leave behind harmful residue.
Q: Can I clean my Keurig without vinegar or Keurig descaling solution?
Although we recommend using vinegar or Keurig descaling solution, you can use lemon juice or citric acid mixed with water as an alternative.
Q: What is the best way to clean the Keurig needle?
You can use a clean needle or paper clip to remove any debris from the needle. Be careful not to damage the needle or puncture the bottom of the K-cup.
Comparison Guide
Here’s a comparison table of different methods/products used to clean Keurig machines:
| Cleaning Method/Product | Pros | Cons |
|---|---|---|
| Keurig descaling solution | Easy to use, specially designed for Keurig machines | More expensive than other options, can only be used with Keurig machines |
| Vinegar and Water | Cost-effective, easily available, effective in descaling | Requires more attention to remove the vinegar taste, more time-consuming |
| Citric Acid & Water | Less expensive, effective in descaling, natural and eco-friendly | Requires more attention to remove the citric acid taste, more time-consuming |
| Lemon Juice and Water | Natural and eco-friendly, cost-effective | May not remove all build-up, requires more attention to remove the lemon taste, more time-consuming |
Choose the method that best suits your cleaning needs and budget.
Conclusion
Cleaning your Keurig may seem daunting, but it’s essential to keep it working and producing high-quality coffee. In this comprehensive guide, we offered various formats and tips to help you clean your Keurig properly, including a step-by-step guide, video tutorial, infographic, listicle, Q&A style, and a comparison guide. We hope this article helped you understand the importance of cleaning your Keurig and offered useful tips to help you do so easily. Don’t hesitate to connect with us on social media or leave a comment below with any further questions.


